zaterdag 23 oktober 2010

Overview of the SharePoint databases

If you want to take a look at the SharePoint databases, you will also need the MS SQL Management Studio. I personally had some problems when downloading and trying to install Management Studio Express. Finally, after reading some posts, I concluded it is possible by using Microsoft's Web Platform Installer. Search for 'management studio' and start the installation.


Then start the management studio and connect to your local SQL installation.


INLINESP2010DEV is my machine name
SHAREPOINT is the named instance installed by the SharePoint 2010 standalone wizard

As you can see you will have several different SharePoint databases. Per configured service application you have a separate database with a GUID (if you install using PowerShell you have more control over these names). Besides that you will also have a content database (holds a lot of the SharePoint files and will also hold all information that users will create).

'The 14 hive'

SharePoint developers talk a lot about the so called '14 hive'. It's a collection of folders and subfolders on the SharePoint web servers and holds all the local SharePoint files that we installed there during the installation. It can also hold several custom files that were deployed over time. It's very important to know what you can find here as it will help you during the development of your custom stuff and could also give you deeper insight during development problems.

TIP: create a shortcut to the 14 hive on your desktop. It's a real pain to always have to browse to the location manually.

The SharePoint 14 hive is located here: Program Files\Common files\Microsoft Shared\Web Server Extensions\14. When developing, a lot of articles will in some way refer to this hive or files that live in it. Always remember to never touch out of the box SharePoint files because you will end up with an unsupported version.

Here are some of the more important subfolders and there function:
- ISAPI: contains almost all out of the box SOAP and WCF Web Services
- TEMPLATE/CONTROLTEMPLATES: holds the out of the box user controls
- TEMPLATE/FEATURES: holds all feature definitions

While you are using SharePoint and visiting different pages, you might have noticed URL's that contain '_layouts' or '_vti_bin'. These are virtual directories mapped to folders in this 14 hive. If you want a complete overview of all the virtual directories, open IIS manager (start->run->inetmgr), open a SharePoint web site and take a look at the folder structure. You will notice for example that '_layouts' is mapped to the TEMPLATE/LAYOUTS subfolder and '_vti_bin' to the ISAPI subfolder.


Installing a SharePoint 2010 development box

When you want to start with SharePoint development, you will first need a decent development box. In this post I will explain you how to install it and what handy developer tools you can additionally install to make your development life easier. FYI: I'm starting with a clean, virtual Windows Server 2008 R2 VMWare image installation.

1. First of all change the configuration of your virtual machine so it can connect to the Internet. This will help us a lot to install the SharePoint 2010 prerequisites. If this is not possible for you, check out this post. It contains the link to all of them.

2. Once my installation ISO is loaded, I start the installation.
3. Install the prerequisites.
If you have Internet access, you can let the installation wizard do it himzelf. Else, use the post in point 1.


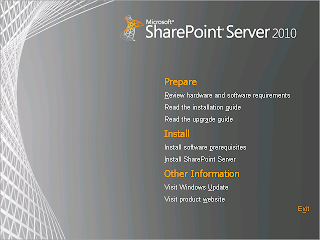
Click on 'Install software prerequisites'.
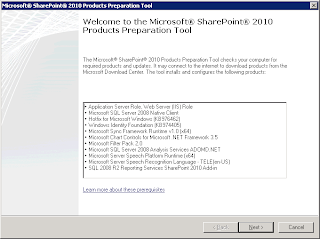


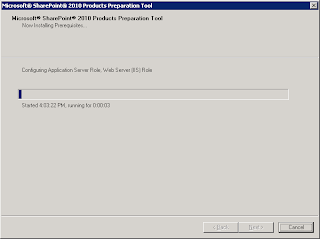
The wizard will install all necessary server roles and prerequisites. A restart will be needed after this step.

4 Installing SharePoint 2010
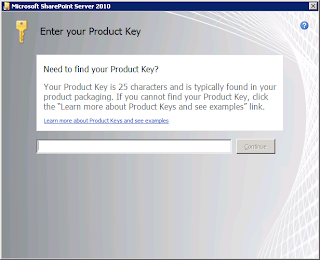
From the splash screen, click on 'Install SharePoint Server' and introduce your key

In the next step, it's important you select the 'Stand alone' option. The 'Server Farm' option has to used when creating a multiple server SharePoint installation.
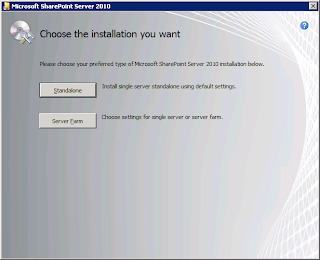

The wizard will now locally install MS SQL Server 2008 Express and the SharePoint files and binaries.

Run the configuration wizard to finalize the installation.
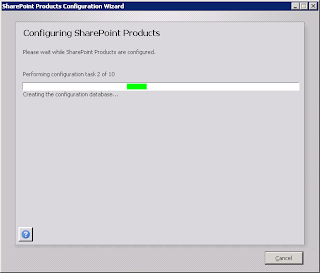

5. Initial SharePoint configuration
After the installation, SharePoint will open in the browser and you can create a new site based on the template you like.
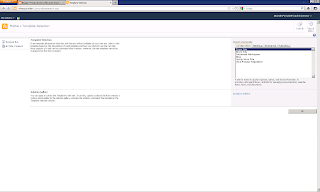
6. Install Visual Studio 2010 and also include the SharePoint 2010 development tools. This will provide you with a lot of very handy templates from which you can start from.
7. Install additional tools
- WSP Builder for Visual Studio 2010: although a lot of the features are now built directly into Visual Studio (like deploy and package), I still find it handy to quickly deploy DLL's to the GAC and to attach your Visual Studio to the w3wp.exe process to debug.
- CKS: Development Tools Edition: adds some extra templates to Visual Studio. I mostly use it to create WCF services.
- ULS Viewer: very handy to open the SharePoint text log files

Good tip: you can fully automate a SharePoint 2010 installation using PowerShell. This can even be done to install a complete multi tier farm. AutoSPInstall is a very good tool to help you with this.

SharePoint 2010 architectural principles

Although you are probably more interested in learning about how to program stuff in SharePoint, it's also important to spend some time to understand how the SharePoint environment is built up and what the mean technologies and terms are that you will come across with. This post will give you a quick overview of what to know.

- SharePoint 2010 needs 64-bit servers (Windows Server 2008 SP2 or later / Windows Server 2008 R2). For development you can also install it on Windows 7.
- Based on farm principle: one or more servers, combination of (load balanced) web server(s) and database server(s).
- No more Shared Service Providers (SSP). You now have service applications.
- Learn more about IIS (Microsoft Internet Information Services), web applications and application pools.

SharePoint 2010 technology overview

It's very important to know that SharePoint 2010 is just the general name of the product. There are actually several different versions of the product all with their own licensing and capabilities. Therefore it's essential that you at least in high level understand what the big differences are. I found a great site that shows you the complete overview.

SharePoint 2010 development for dummies

I regularly get questions like 'How do I learn to start developing SharePoint applications ?'. Of course there is no real basic answer to this and therefore I am starting up this collection of articles. People that want to start developing for SharePoint can use these articles to start from the very basics to get their skills up and running. You could see it as a 'SharePoint development for dummies' series.

First we start with some very short articles which explain what SharePoint actually is and what is there under the hood. It's important as a new SharePoint developer that you know all the terms and technologies mentioned.

Quick technology overview

Next, we continue with a lot of articles that bring you up to speed with the most important principles for a SharePoint developer.

woensdag 13 oktober 2010

Advanced urlaction tokens for SharePoint

Urlaction tokens can be used to construct URL's that contain some special SharePoint variables that are filled in at runtime. For example, if you want to create a custom action for the ECB that points to your custom ASPX page to do the logic, that page will probably need some parameters so it knows on which item the action was initiated. Such a URL can be constructed using these urlaction tokens. These are the ones you can use:

{ItemId} item.ID.ToString()

{ItemUrl} item.Url

{SiteUrl} web.Url

{ListId} list.ID.ToString("B")

{RecurrenceId} item.RecurrenceID


These tokens are well known to developers but did you also know that you can go a step further ? Take a look at the following CustomAction:

<>
Id=" ECBItemCustomization"
RegistrationType="List"
RegistrationId="101"
Location="EditControlBlock"
Sequence="106"
Title="Navigate to Site Settings">
< url="/_layouts/Settings.aspx">
< /CustomAction>

This custom action will add a new ECB button for each list of type 101. What's important here is the Url parameter of the UrlAction. In this example, the Url parameter is static. But most of the time you want to do something like this:

< url="/_layouts/Settings.aspx?siteurl={SiteUrl}&listid={ListId}&itemid={ItemId}">

With this information you can find a reference to the list item in your ASPX page and do anything you want with it.

Now if we go one step further, we can even use javascript in this url. You can for example use variables and simple expressions. Take a look at the following example:

< url="javascript: var absurl={SiteUrl} + {ItemUrl}; window.location='/_layouts/Settings.aspx?siteurl={SiteUrl}&listid={ListId}&itemid={ItemId}&itemAbsUrl=' + absurl + '&source=' + window.location">

As you can see I created a variable absurl which I can then use later in my URL. Later on, I also used window.location expression so I can add a 'source' url parameter which tells the system where the user came from so we an easily return.